Introduction
In this article, we will examine how to build an Access Control mechanism in Refine using Permify, an authorization as a service that helps you create any kind of authorization system easily with its panel.
Refer to Permify docs for more detailed information.
As an overview, we will:
- Setup Permify to Refine application
- Create an access control mechanism in Refine Access Control Provider
- Create an access control model with Permify & Initialize Permify Client
- Create Authorization Data to check user accesses.
Step 1: Setup the Permify in Refine application
First, let's create a demo react application using refine. You can follow the tutorial to create a simple admin panel for a CMS-like application.
If your application is ready, let's set up Permify Instance.
Permify Setup
We need to set up Permify Service in our environment.
You can run Permify Service with various options, but we'll run it via the docker container in that tutorial.
Production usage of Permify needs some configurations, such as defining running options, selecting datastore to store authorization data, and more.
However, for the sake of this tutorial, we'll not do any configurations and quickly start Permify on your local by running the docker command below:
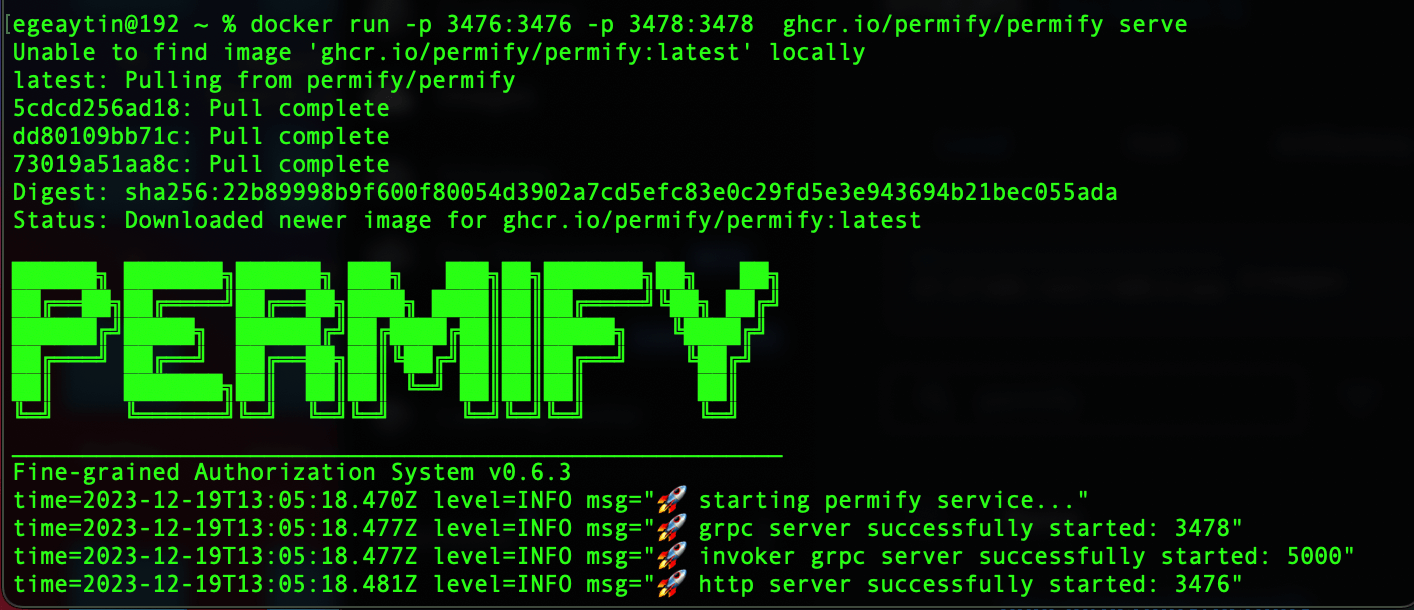
docker run -p 3476:3476 -p 3478:3478 ghcr.io/permify/permify serve
You should see similar output in your terminal after this operation:
Test your connection
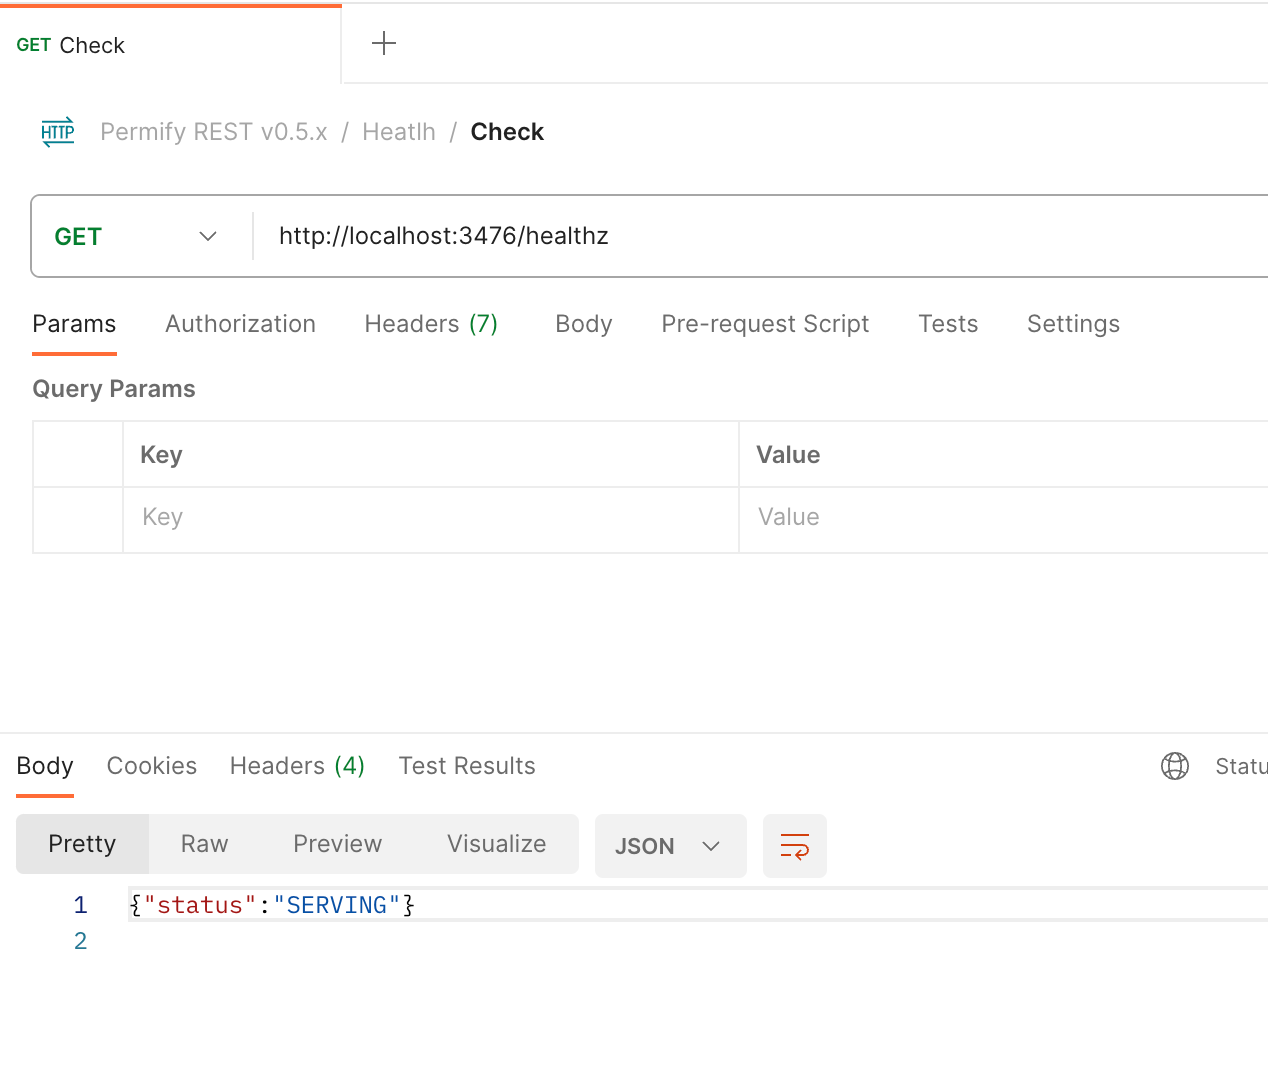
To interact with the Permify API, you can use any API provider you wish. For this tutorial, we'll use Permify Postman Collection to send API requests.
You can test your connection by creating an HTTP GET request.
localhost:3476/healthz
Before creating and initializing Permify Client, let's first create the access control mechanism in Refine.
Step 2: Create an access control mechanism in Refine Access Control Provider
Refine provides an agnostic API via the accessControlProvider to manage access control throughout your app. Let's create a mechanism in our Access Control Provider using the Permify client's isAuthorized function.
Note: Since we haven't initialized the Permify Client yet, the isAuthorized function will generate an error. We will implement and initialize it in the third step.
accessControlProvider={{
    can: async ({ action, params, resource }) => {
      //post specific access checks - show, edit and delete a post
      if (
        action === "show" ||
        action === "edit" ||
        action === "delete"
      ) {
        const result = await permify.isAuthorized(
          user.id,
          resource!,
          action,
          params?.id
        );
        return Promise.resolve({
          can: result,
        });
      }

      //organization specific access checks - listing posts & creating posts
      const result = await permify.isAuthorized(
          user.id,
        "organization",
        action,
        user.organization_id
      );
      return Promise.resolve({
        can: result,
      });
    },
}}
With this setup, each access request can be captured by Permify and returns a decision according to your pre-defined rules and conditions that are defined on the Permify API.
Let's define an authorization model and sample authorization data to run our application to perform access checks!
Step 3: Create an access control model with Permify & Initialize Permify Client
Permify has its own domain-specific language that you can use to model your authorization logic.
The language allows the definition of arbitrary relations between users and objects, such as owner, editor, commenter, or roles like admin, manager, and member, and also dynamic attributes such as boolean variables, IP range, time period, etc.
Creating Access Control Model / Policy
In our example project, we have posts, and these posts belong to a one-parent entity. This entity could be an application, business, or organization. Let's call it organization in this tutorial.
We've established list, create, show, edit and delete permissions to grant users access to interact with these posts.
The
show,editanddeleteactions can be considered post-specific permissions, as these actions are related to a specific post. For example, we might ask, 'Can user:23123 have access to delete post:14123412?'The
listandcreatepermissions are organization-specific because they are not related to a single post but rather represent actions on cumulative posts that belong to a parent organization - as an example, we might ask, ' Can user:23123 list all posts that organization:1 has ?'
Based on these considerations, we have developed an authorization logic with Permify domain-specific language to fulfill the above-mentioned requirements
Open Model in Permify Playground
entity user {}

entity organization {

    // application roles
    relation member @user
    relation admin @user

    // permissions for listing posts
    permission list = member or admin

    // permissions for creating posts
    permission create = member or admin

}

entity posts {

    // represents posts from parent organization
    relation org @organization

    // represents post editor - owner
    relation editor @user

    // post specific permissions
    permission show   = org.member or org.admin or editor
    permission edit   = org.admin or editor
    permission delete = org.admin
}
According to the above authorization model, the basic access conditions are:
- Every member can list, create posts and see details of a post.
- Only admins and editors could edit a post.
- Only admins can delete a post.
- To learn more about modeling authorization with Permify, see the related docs
Defining Access Control Model to Permify API
As we mentioned earlier, Permify evaluates Permission check requests according to the rules & conditions defined in the authorization schema (model) - which we created above.
Firstly, let's copy the above schema to Permify Playground's Schema section and copy the authorization schema to clipboard with clicking the Copy Button.

Let's define this schema to our running instance with using WriteSchema API. Again I will use the Postman to do so.
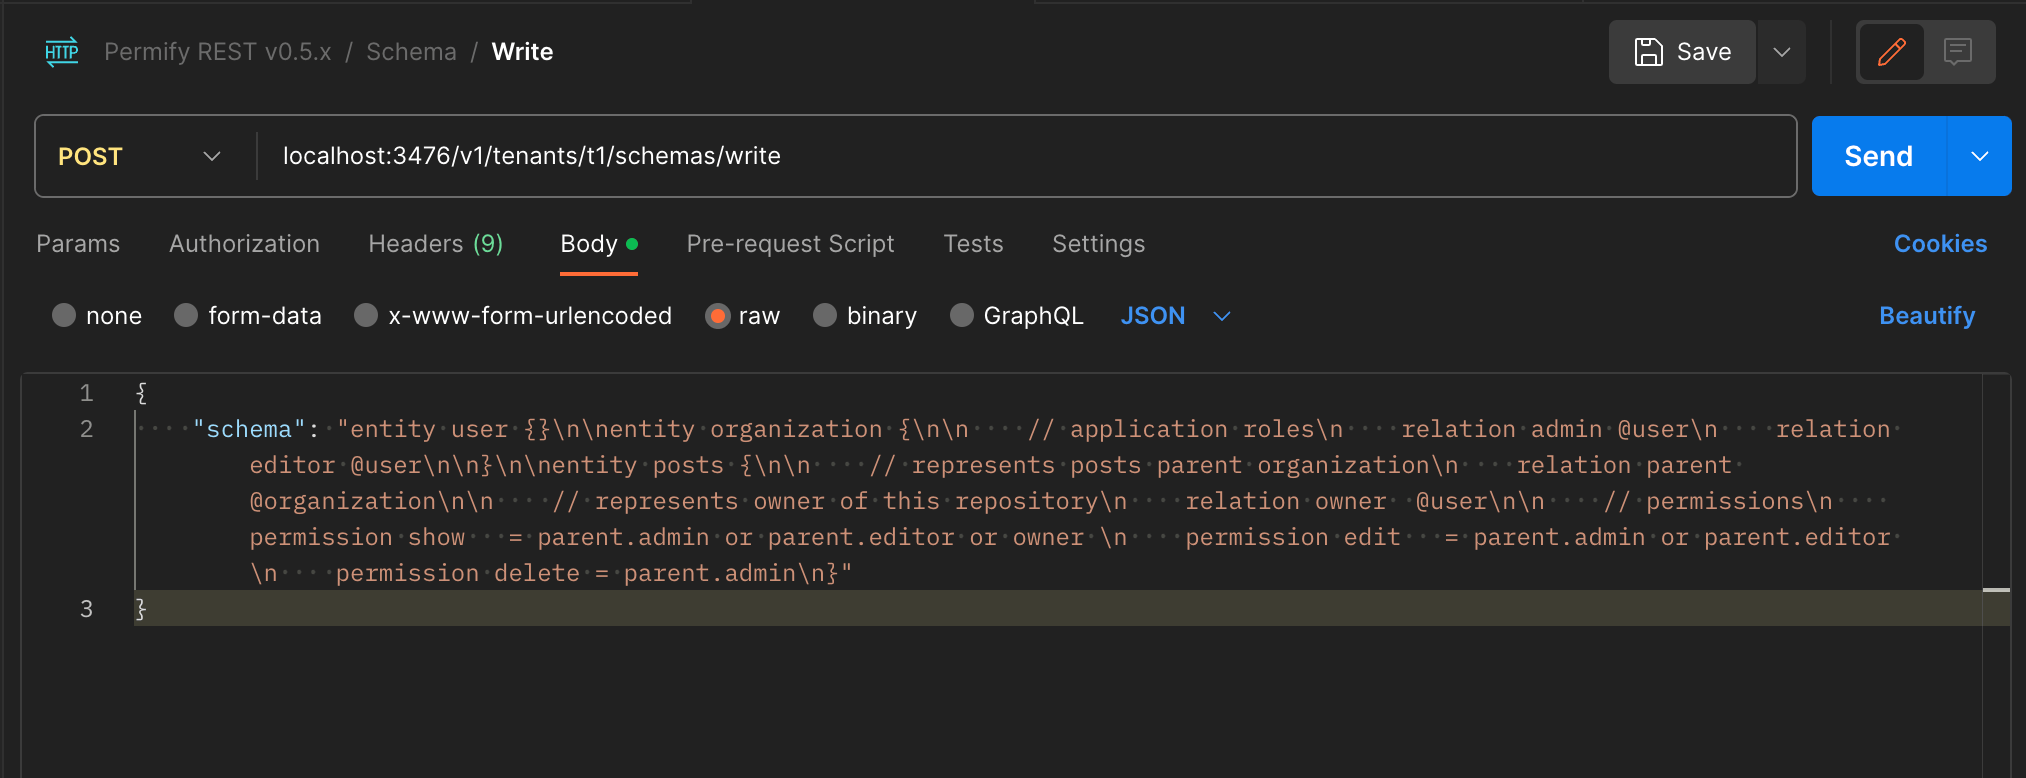
Voila! we successfully defined the authorization model!
Note: For production usage, you should configure these APIs on your internal Permify Client to make API calls programmatically. Alternatively, you can use the official Golang and Node.js gRPC clients of Permify.
Create a simple Permify REST Client
In Permify, you can perform resource-based authorization checks, in the form of:
Can user U perform action Y in resource Z ?
In order to make that access check, we'll use the Permify API's PermissionCheck endpoint. But for that let's create a simple REST server in our project.
Open a /authz folder in your root directory and create permifyClient.ts file with following content:
import { BaseKey } from "@refinedev/core";

export class PermifyClient {
  private instance: string;

  constructor(instance: string) {
    this.instance = instance;
  }

  async isAuthorized(user: string, resource: string, action: string, paramsId?: BaseKey | undefined): Promise<boolean> {
    try {
      const response = await fetch(`${this.instance}/v1/tenants/t1/permissions/check`, {
        method: "POST",
        headers: {
          "Content-Type": "application/json",
        },
        body: JSON.stringify({
          metadata: {
            depth: 5,
          },
          entity: {
            type: resource,
            id: paramsId?.toString(),
          },
          permission: action,
          subject: {
            type: "user",
            id: user, // user ID
          },
        }),
      });

      const responseData = await response.json();
      return responseData?.can === "CHECK_RESULT_ALLOWED";
    } catch (error) {
      console.error("Error while authorizing:", error);
      return false; // or handle the error as needed
    }
  }
}
This simple REST service will be responsible for permission checks. For more information, see the permission check documentation.
After completing our client let's initialize it in the App.tsx with running server, which is: localhost:3476
// Create an instance of Permify Client
const instance = "<http://localhost:3476>";
const permify = new PermifyClient(instance);
Step 4: Create Authorization Data to check user accesses.
Let's run our application to see results.
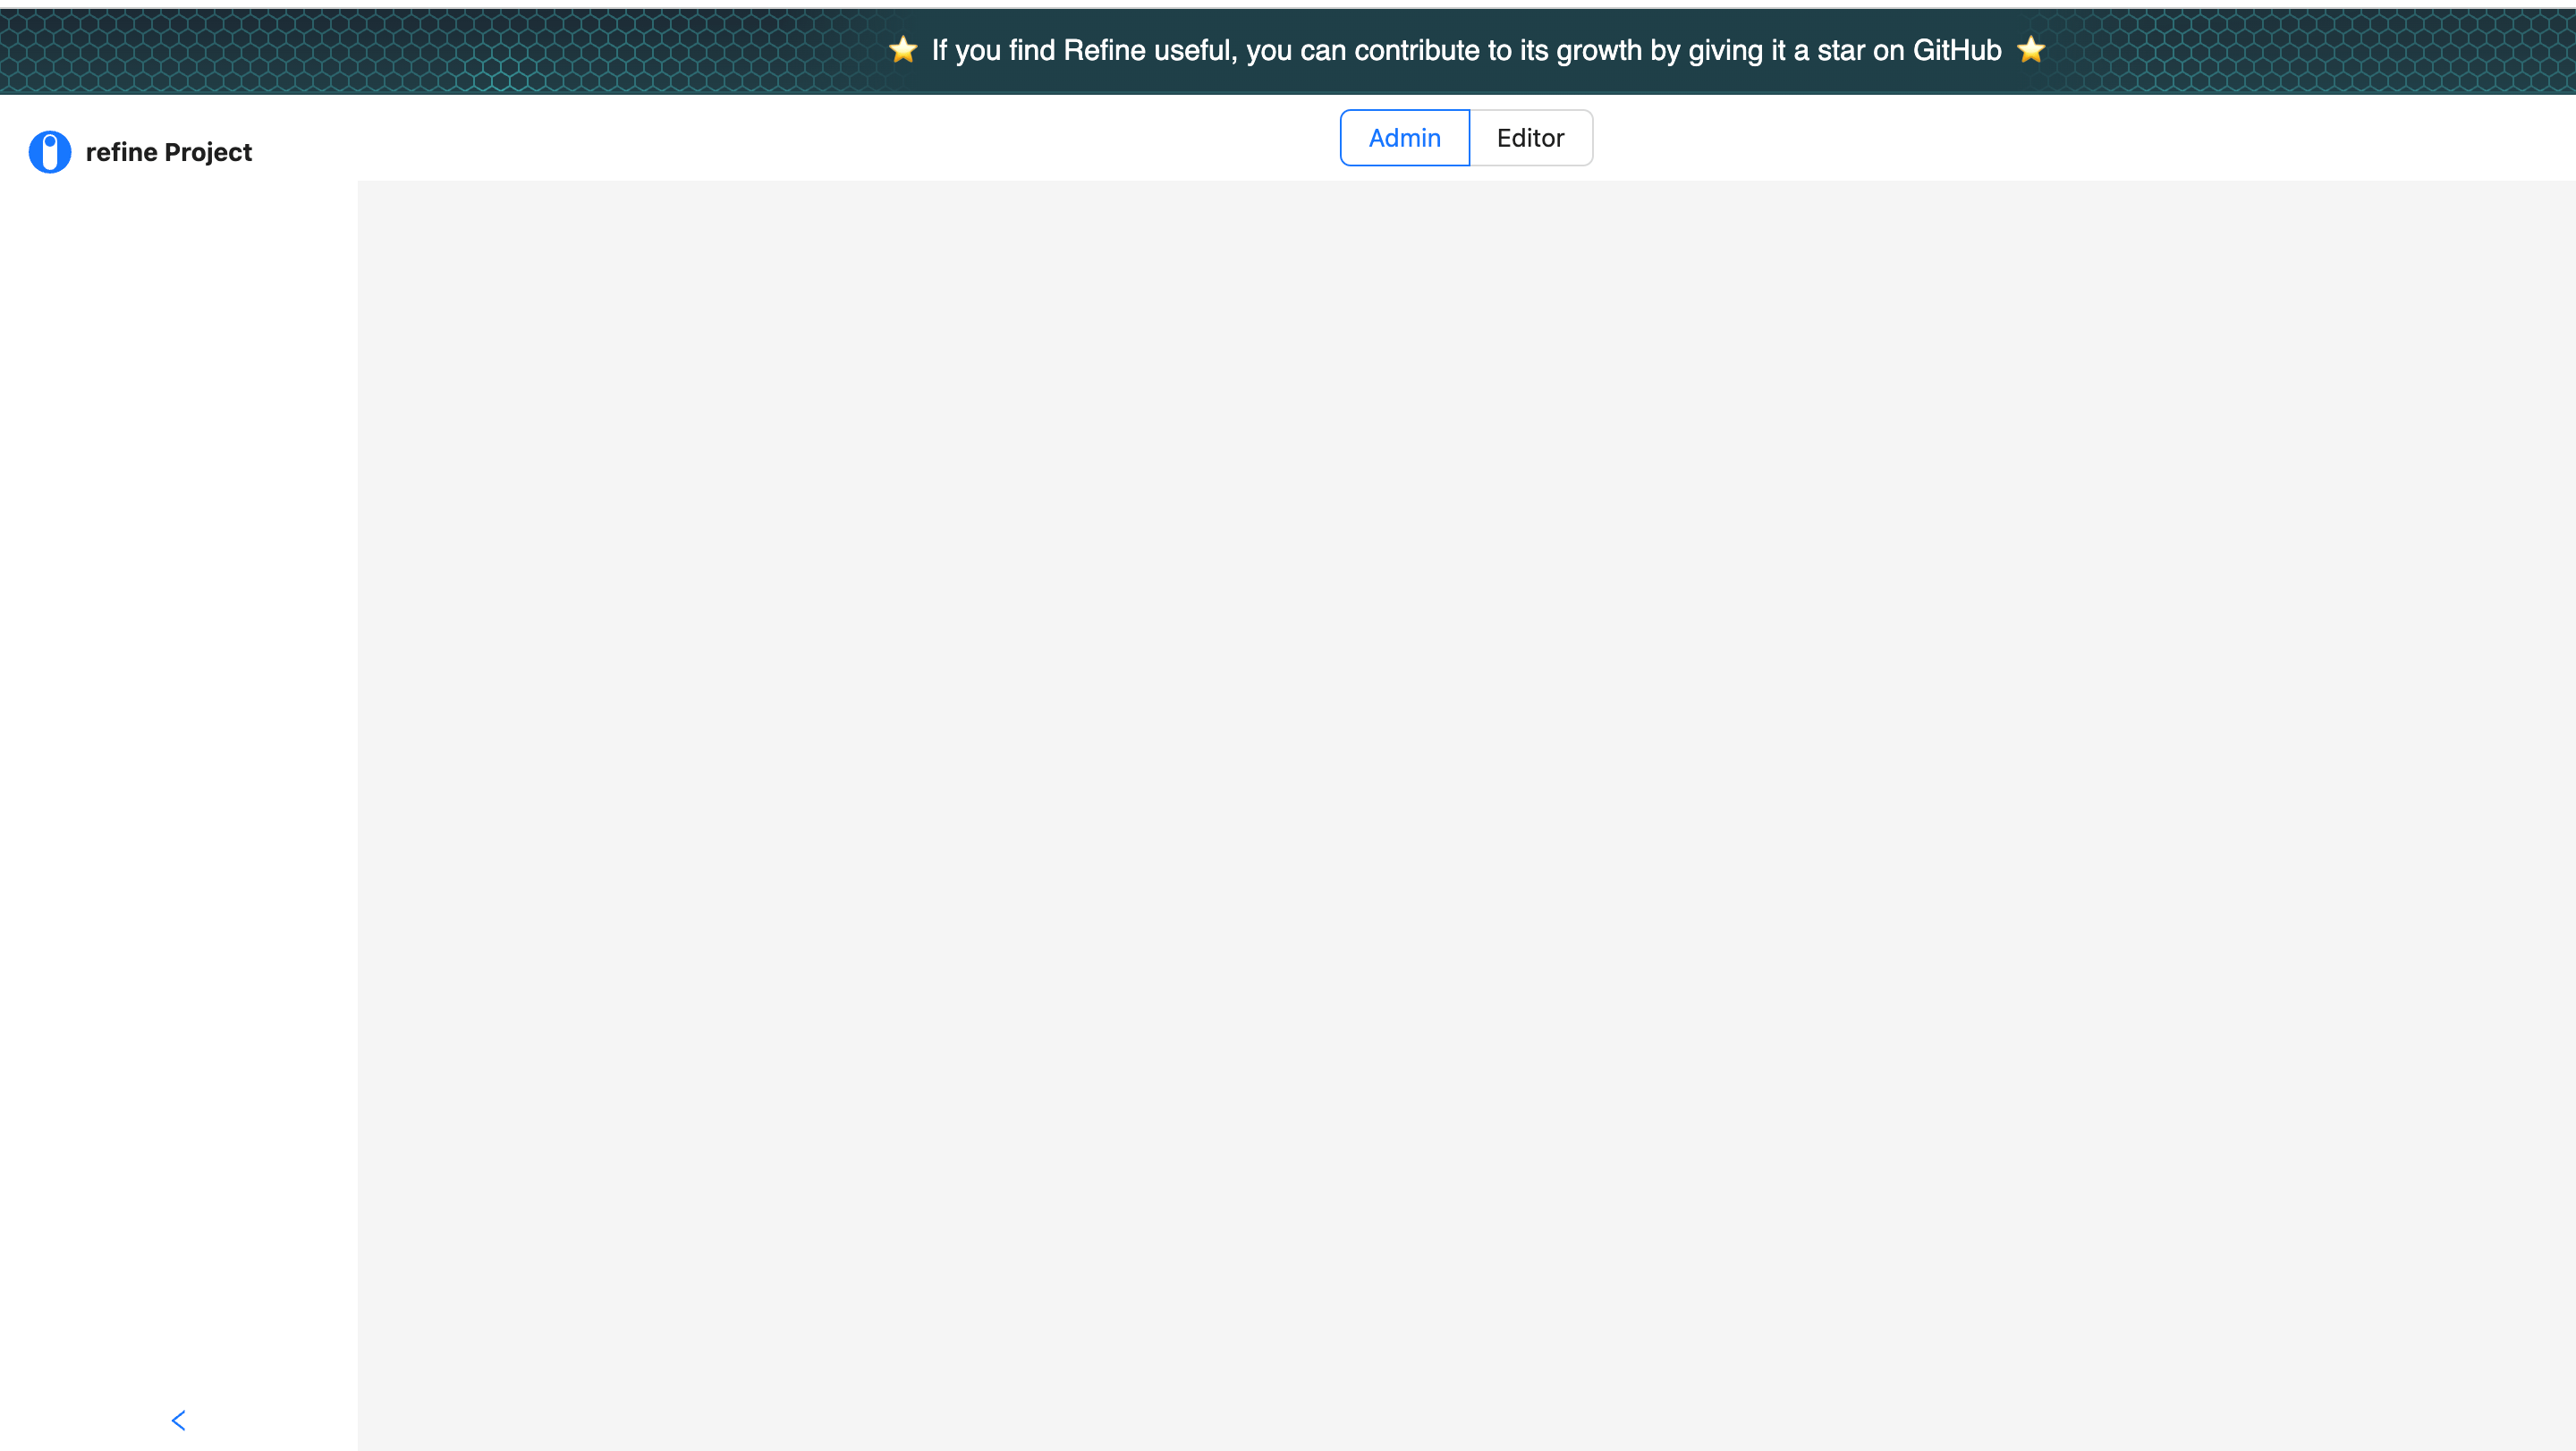
Since Permify side doesn't have the necessary data and information about the logged user (user: demo_user_1) yet, our user has no access to list posts.
On the Permify side, you just need to match your users and resources. You can follow the Managing Authorization Data on Permify docs to learn how data management operates.
Sync Authorization Data
Permify stores your authorization data in a database you prefer. You can configure the database when running Permify Service.
These stored data are queried and utilized in Permify APIs, including the check API. As an example; to decide whether a user could view a protected resource, Permify looks up the authorization data and relations between that specific user and the protected resource.
Let's define the authorization data below to link our users to an organization.
- user:demo_user_1 is admin in organization:demo_org_1
- user:demo_user_2 is member in organization:demo_org_1
We can define these to Permify side with a single WriteData API request.
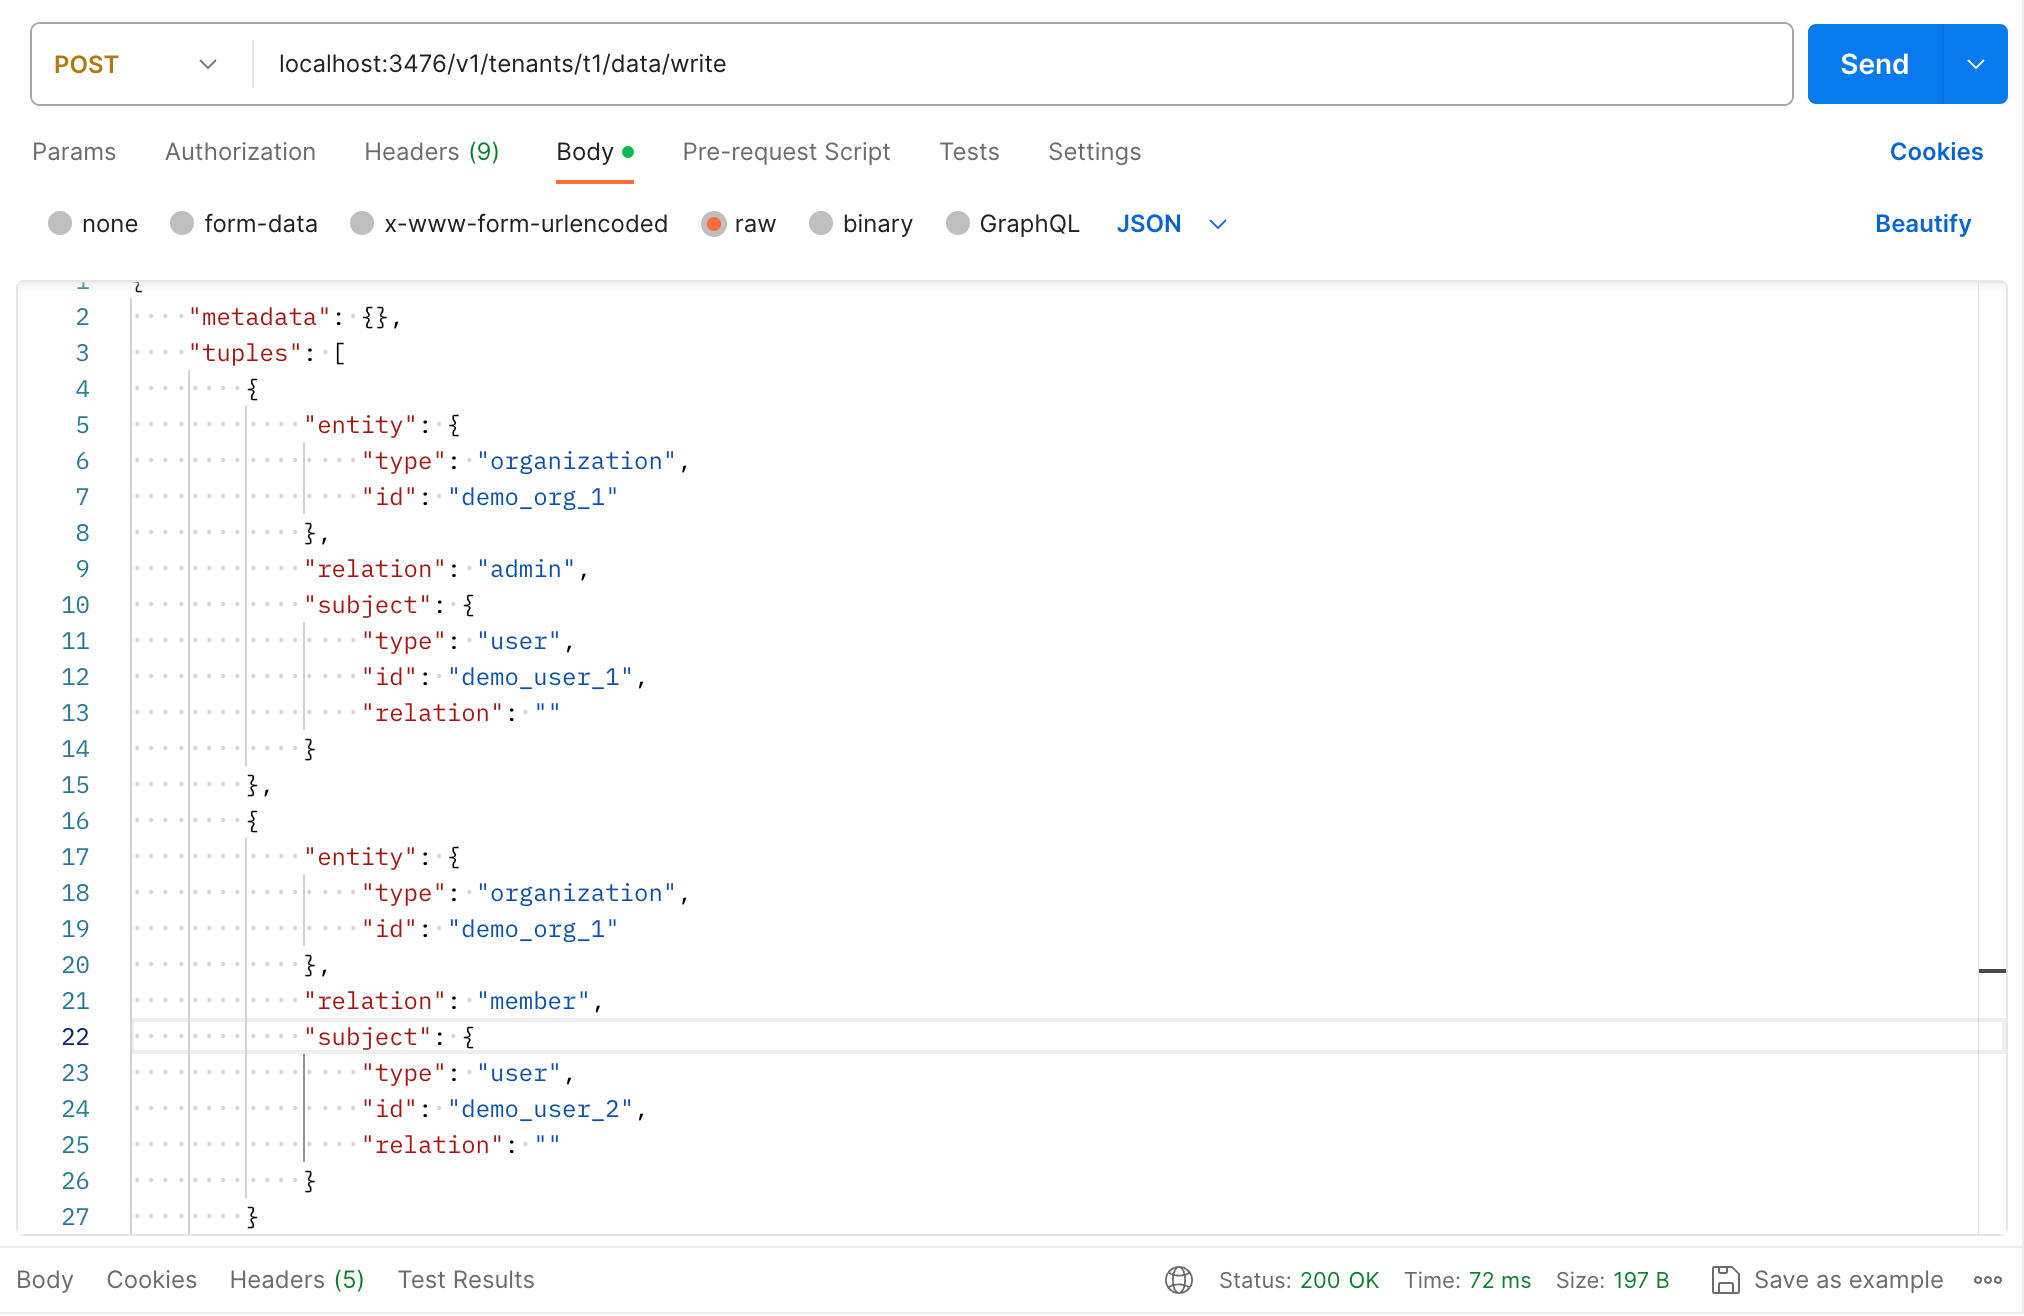
Here is the full payload,
{
  "metadata": {},
  "tuples": [
    {
      "entity": {
        "type": "organization",
        "id": "demo_org_1"
      },
      "relation": "admin",
      "subject": {
        "type": "user",
        "id": "demo_user_1",
        "relation": "  "
      }
    },
    {
      "entity": {
        "type": "organization",
        "id": "demo_org_1"
      },
      "relation": "member",
      "subject": {
        "type": "user",
        "id": "demo_user_2",
        "relation": "  "
      }
    }
  ]
}
Let's run our application again.

Note: If you're using Refine's demo API (as we did in this tutorial), create a data folder and add sample users there. We will use the Header layout component to change logged-in sample users.
As you can see, according to our model, users can now be able to list posts and create posts.
But although our user has a "Admin" role according to the above tab, the edit button is still blocked. The reason for this is the Permify side doesn't have the information about which posts are defined below the organization:demo_org_.
Let's add post:1 relationships with again using WriteData API request:
organization:demo_org_1is parent organization ofposts:1- Meaning post 1 is belong to organization demo_org_1.user:demo_user_2is editor inposts:1- Assigning theuser:2as editor of post:1
Let's run our application again; we should see the "Edit" button of the first resource (resource with id: 1) not blocked.
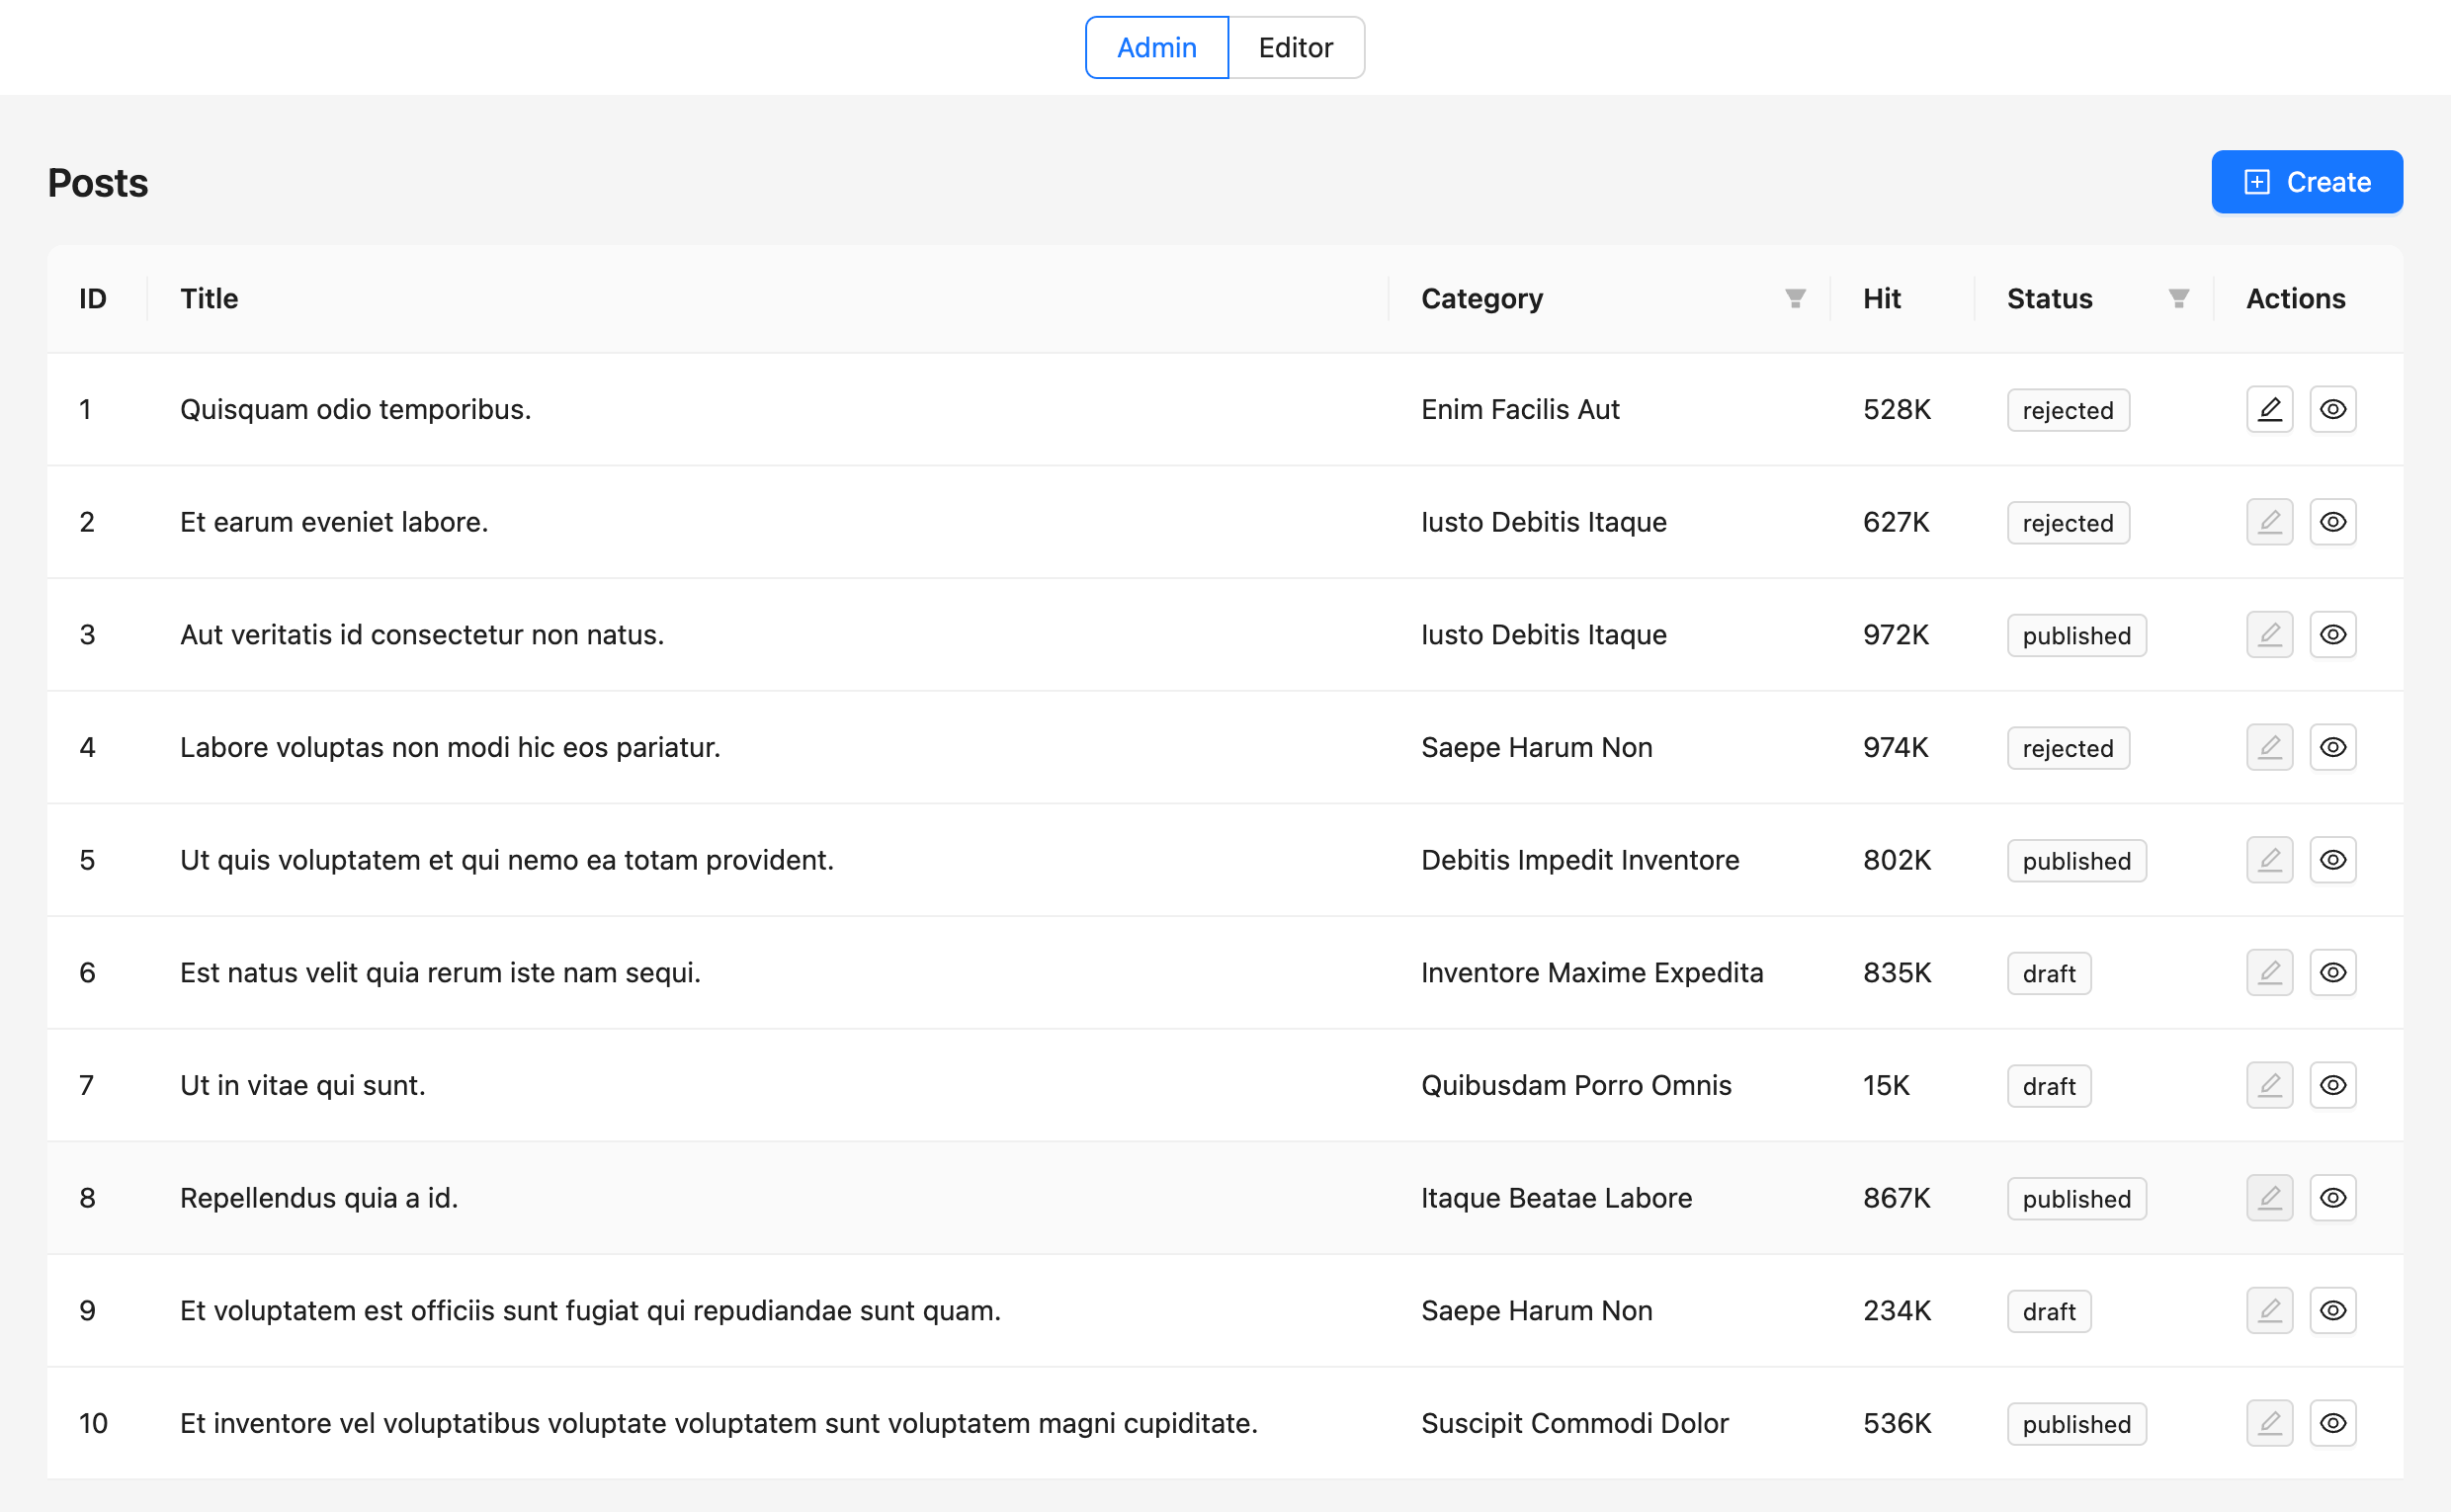
Now, let's move on to the details of this post.
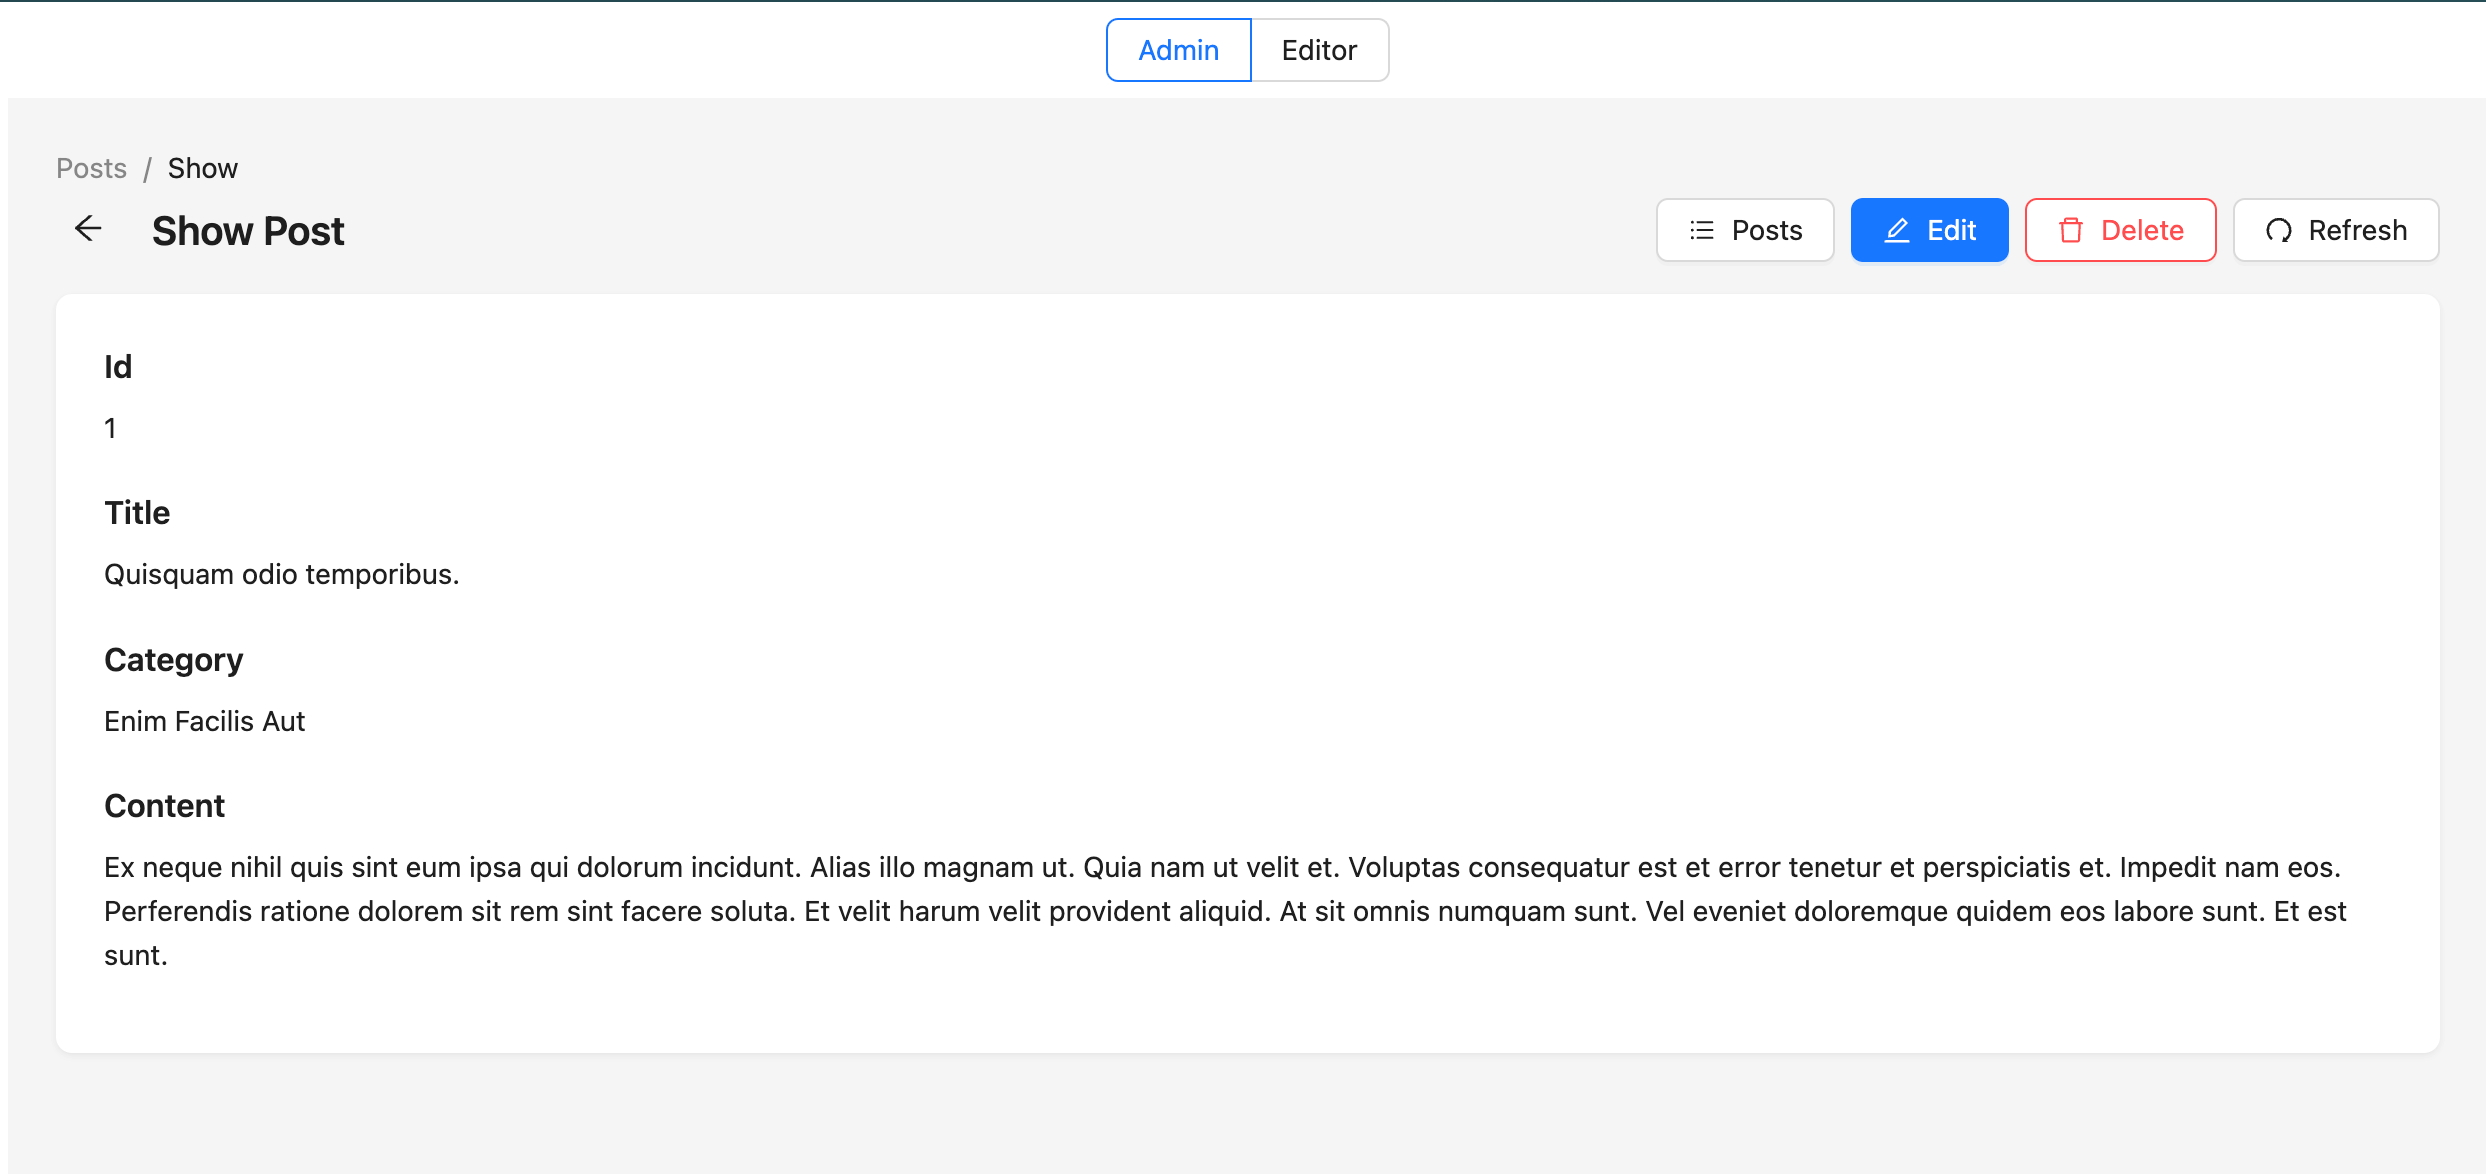
Since our current user (user:demo_user_1) is an admin in the organization to which this post belongs, this user can access everything.
On this page, let's switch to our second demo user (demo_user_2) by clicking the "Editor" tab above.
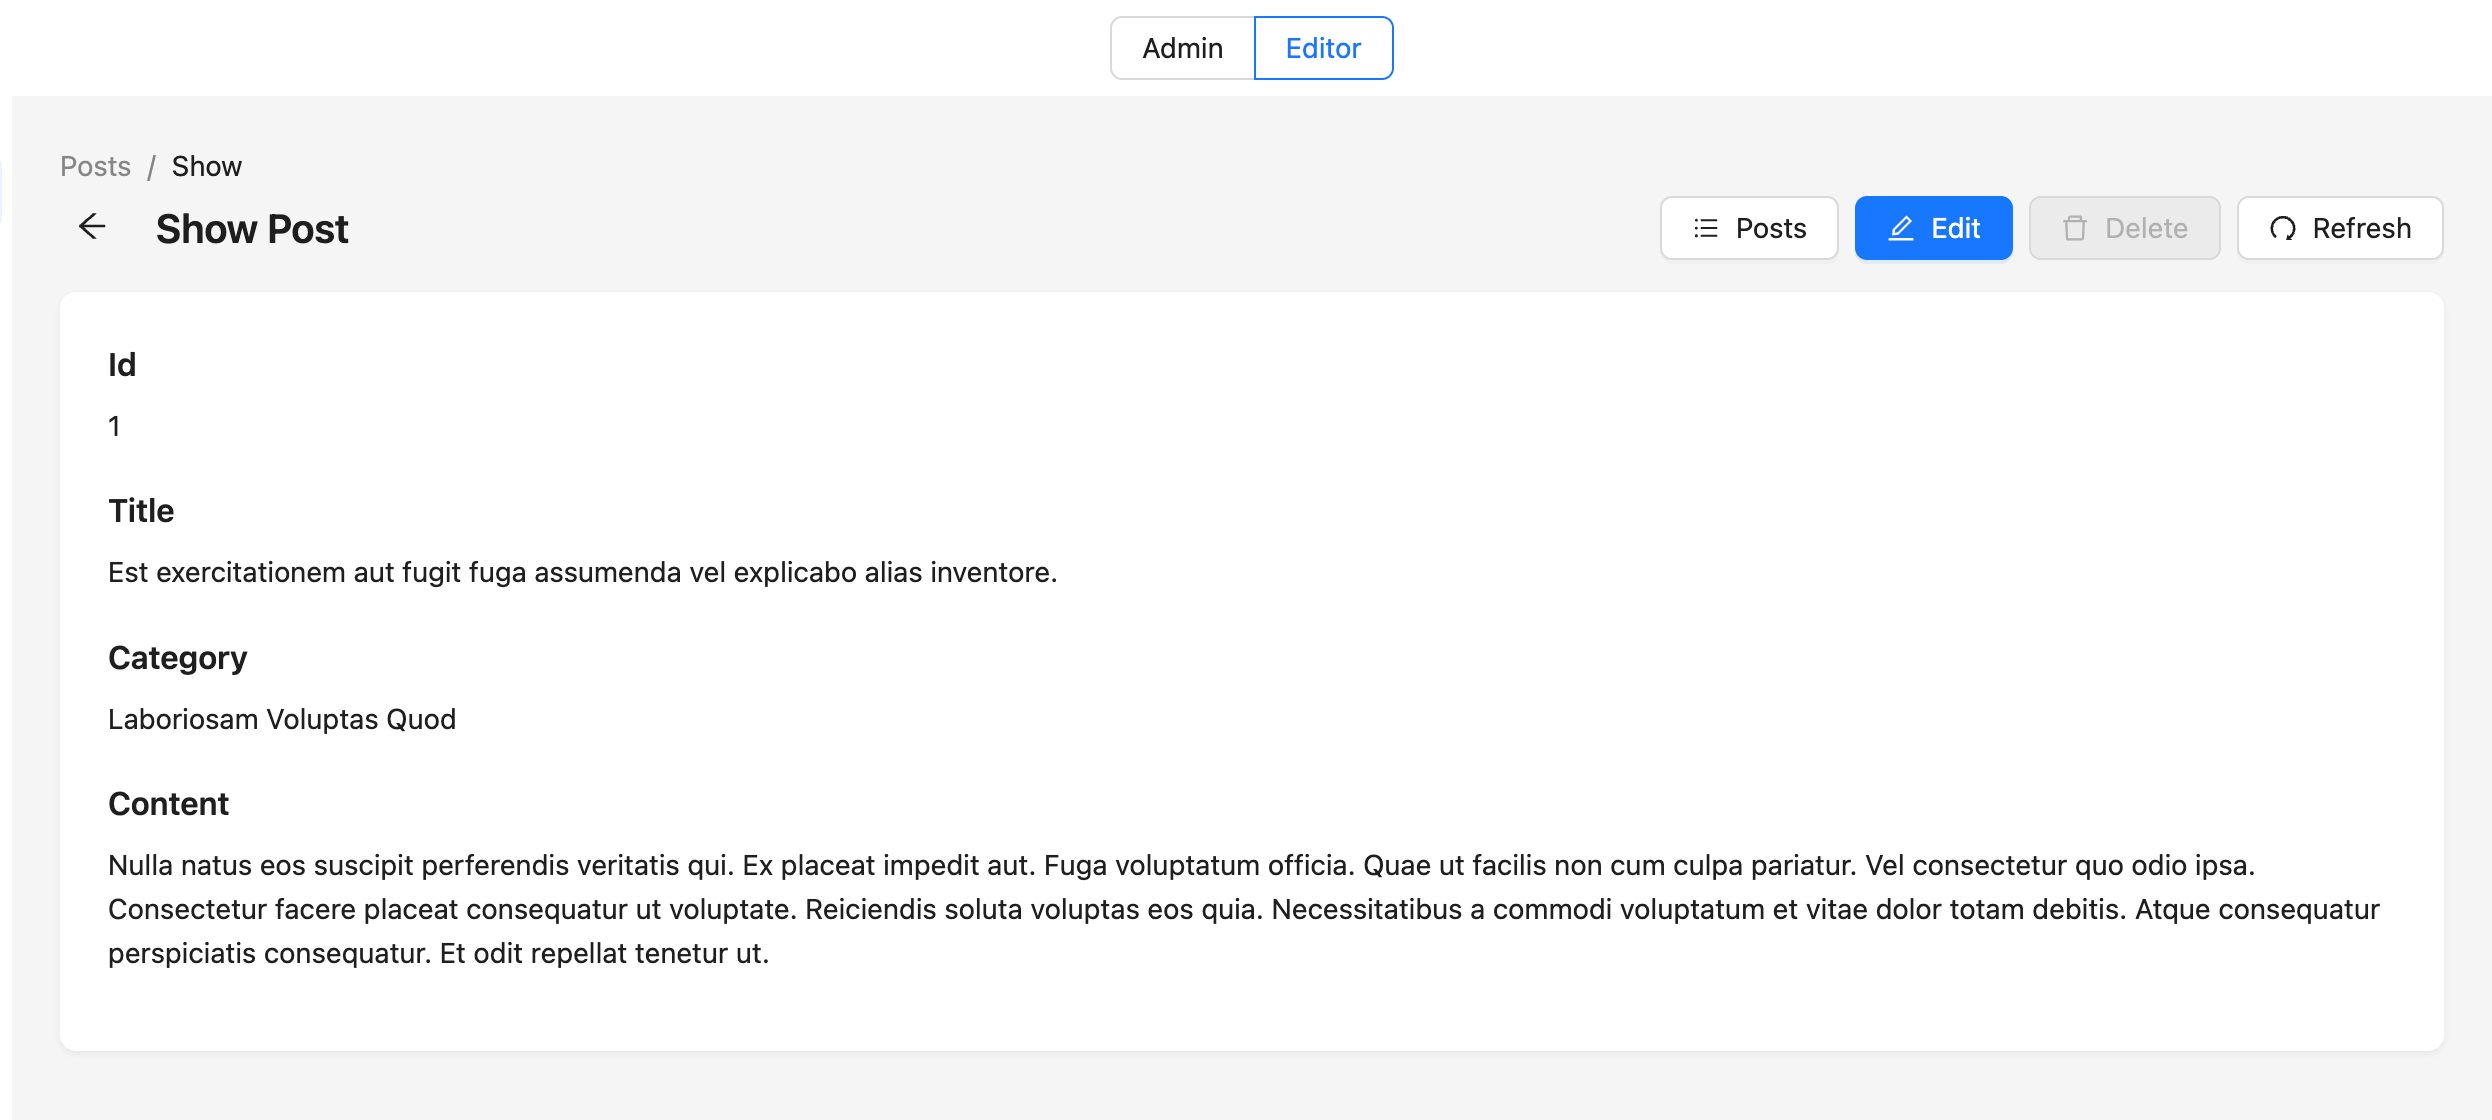
Since only admins can delete a specific post, as defined in the authorization schema:
permission edit   = org.admin or editor
permission delete = org.admin
The Delete button gets blocked, as expected.
Step 5: Creating more advanced permissions (Options)
There are times when authorization structure conditions can't be straightforward forward, as we demonstrated. Sometimes, business needs to force you to check multiple complex permissions or conditions. To demonstrate that, let's add a custom condition with Permify.
Lets say
- Users can edit any post if they are on a workday.
This means users can view the posts only on workdays, excluding weekends, and the user must be a member of the organization.
According to this condition, let's update our existing authorization model by using rule and attribute keywords. entity
Open Model in Permify Playground
user {}

entity organization {

    // application roles
    relation member @user
    relation admin @user

    // permissions for listing posts
    permission list = member or admin

    // permissions for creating posts
    permission create = member or admin

}

entity posts {

    // represents posts parent organization
    relation org @organization

        // represents post editor - owner
    relation editor @user

    // permissions
        permission show   = org.member or org.admin or editor
    permission edit   = is_weekday(request.day_of_week) and (org.admin or editor)
    permission delete = org.admin
}

rule is_weekday(day_of_week string) {
      day_of_week != 'saturday' && day_of_week != 'sunday'
}
The edit permissions in this model state that to 'edit' the post, the user must fulfill two conditions:
- current day (according to the context data day_of_week) must not be a weekend (determined by the is_weekday rule),
- user must be either admin or editor in the organization level.
Now add this rule to our edit permission and test the results by running our app.
Select the Editor role, and you should see the edit button disabled when you're performing that action outside the time interval we have determined (8:00 am to 6.00 pm)
Conclusion
In this article, we create a couple of access check examples using Permify.
We mostly focused on the client side using Refine access control provider; hence, Permify is a full stack solution in which you can implement your authorization logic for every layer of your application from the backend to the front end.
So, if you are looking for an access control mechanism, you can create any kind of role or attribute-based authorization structures easily with Permify.

